Create and publish a bio page
Create a page, customize sections, preview, and go live.
Create a bio page, fill sections with your best links, preview the layout, and share a public URL your audience can open from any channel.
Before you start
- You are in the correct team workspace
- Your role can create and edit bio pages (
canCreateBioPages/canEditBioPages) - Optional but recommended: at least one tracked link ready to feature
Steps
1. Create the page
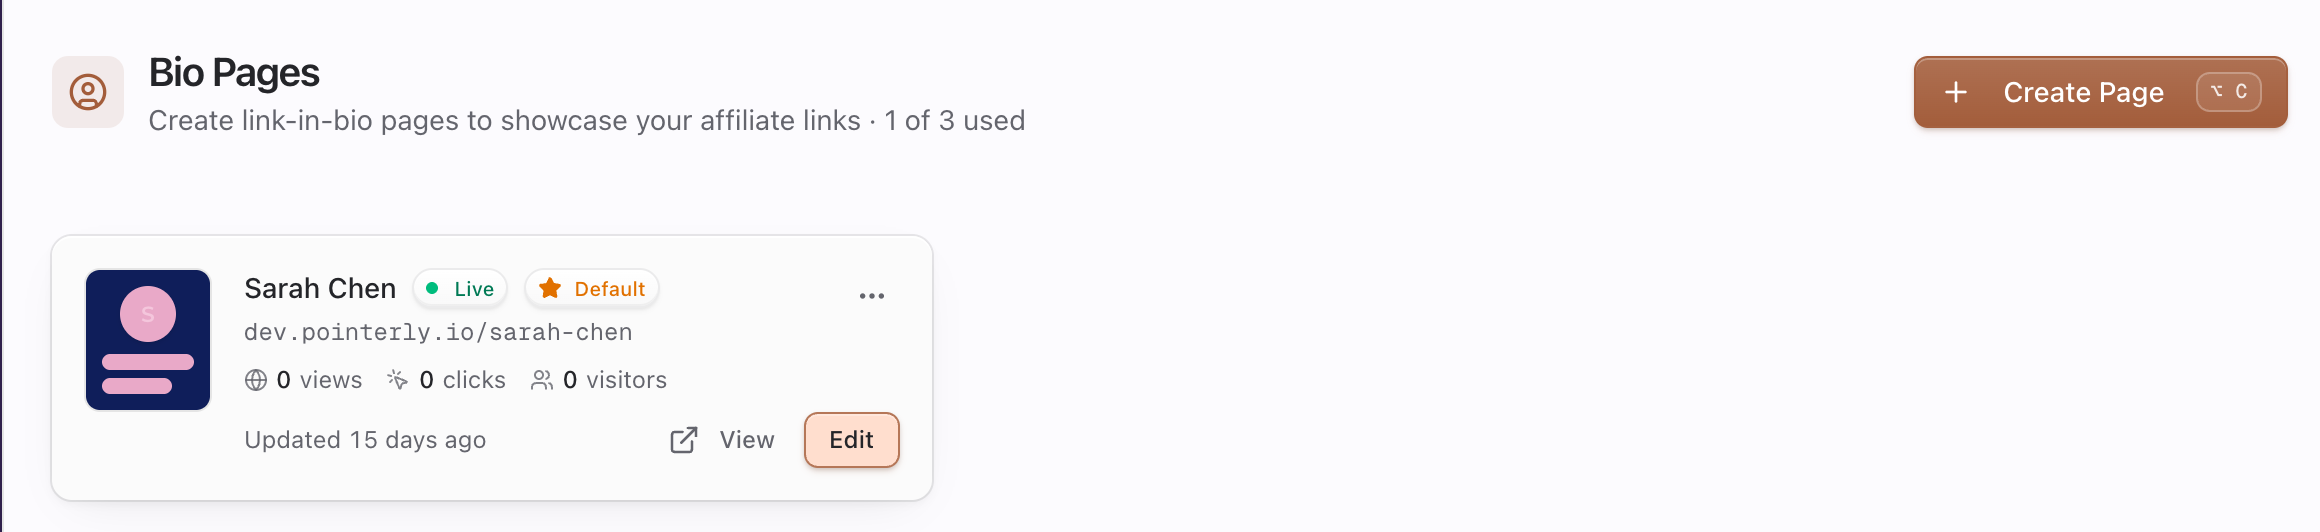
- Go to Dashboard → Bio.
- Click Create Page (or the empty-state create CTA).
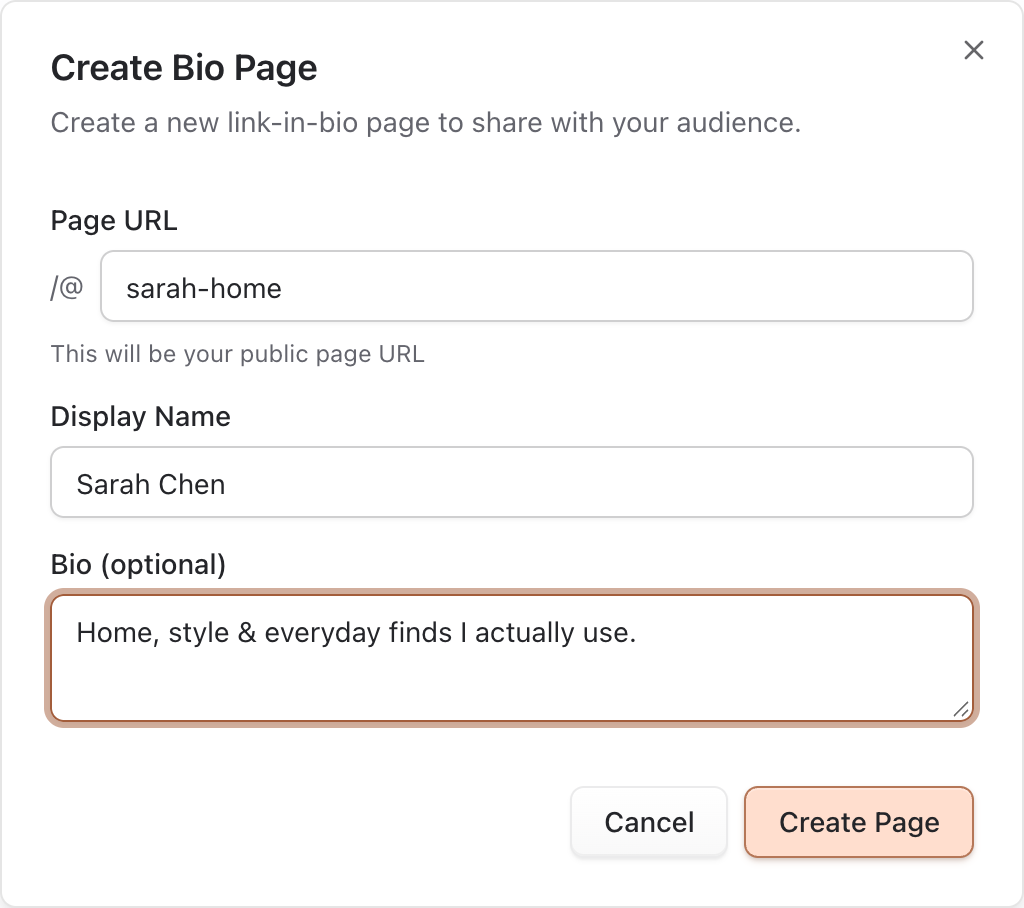
- Fill the dialog:
- Page URL — slug (public path segment after
/@) - Display Name — title shown in the editor / page
- Bio — optional short description
- Page URL — slug (public path segment after
- Confirm Create Page.
The public URL pattern is /@your-slug on Pointerly’s bio host (for example bio.pointerly.io/@your-slug), or your custom bio domain once active.
Slug rules (create dialog): lowercase letters, numbers, and hyphens only; invalid characters are stripped as you type. Slug is required.
If the slug is already taken, you see This slug is already taken. Soft-deleted pages can briefly hold a slug—create tries to reclaim soft-deleted slugs first; if it still fails, pick a unique name.
Plan limit: create returns an error when you have reached your bio page limit (upgrade message mentions Pro for unlimited pages).
2. Open the editor and set profile basics
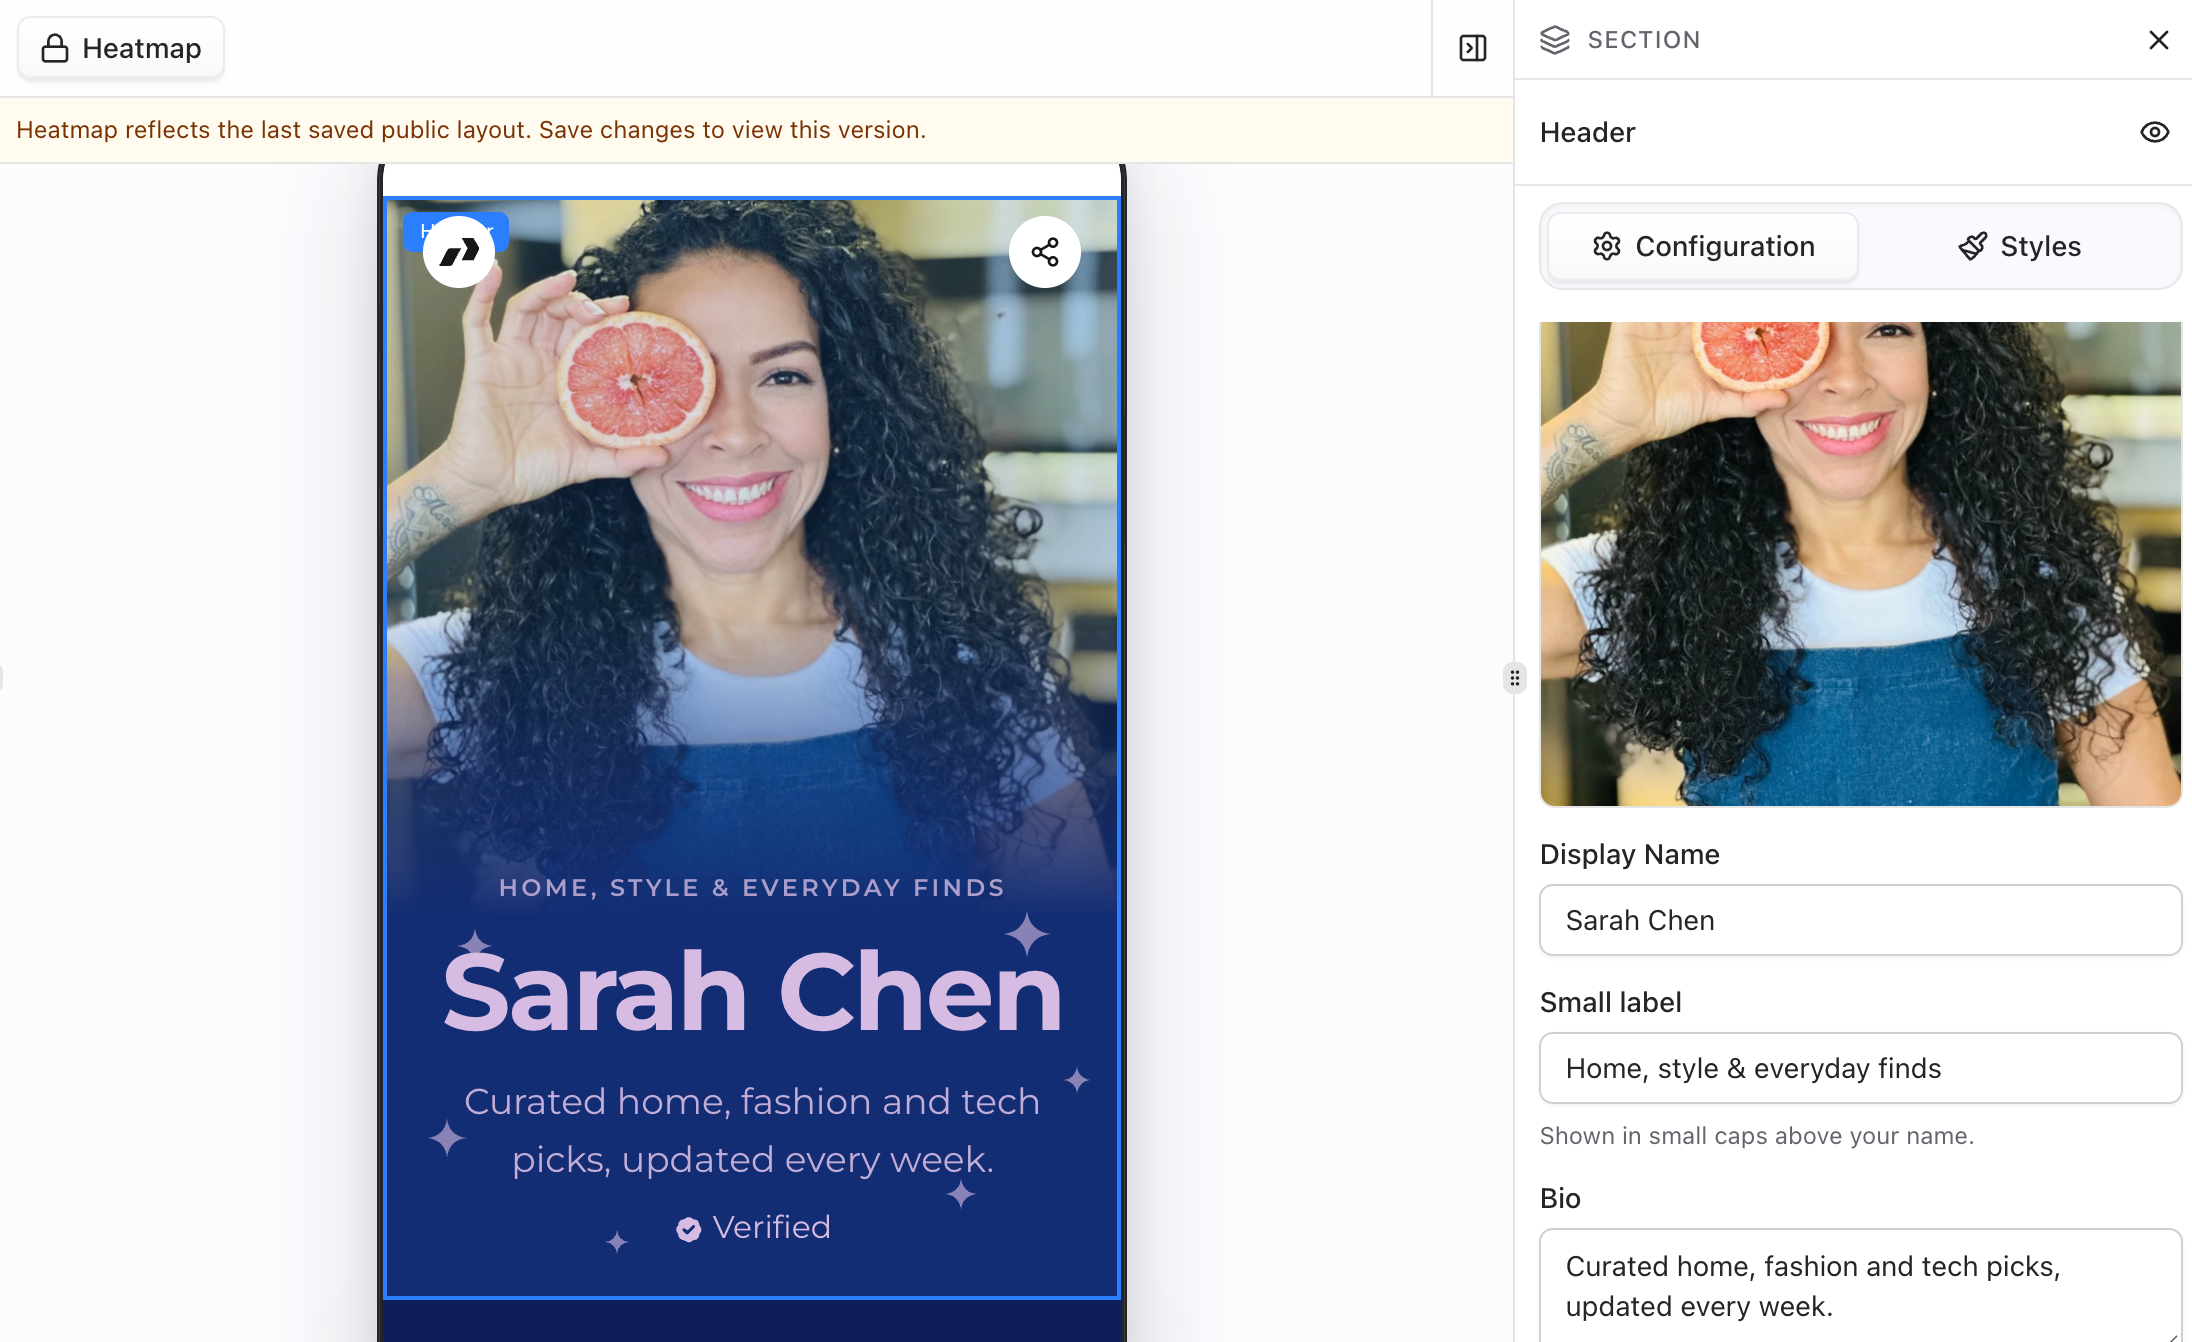
- Open the new page in the bio editor.
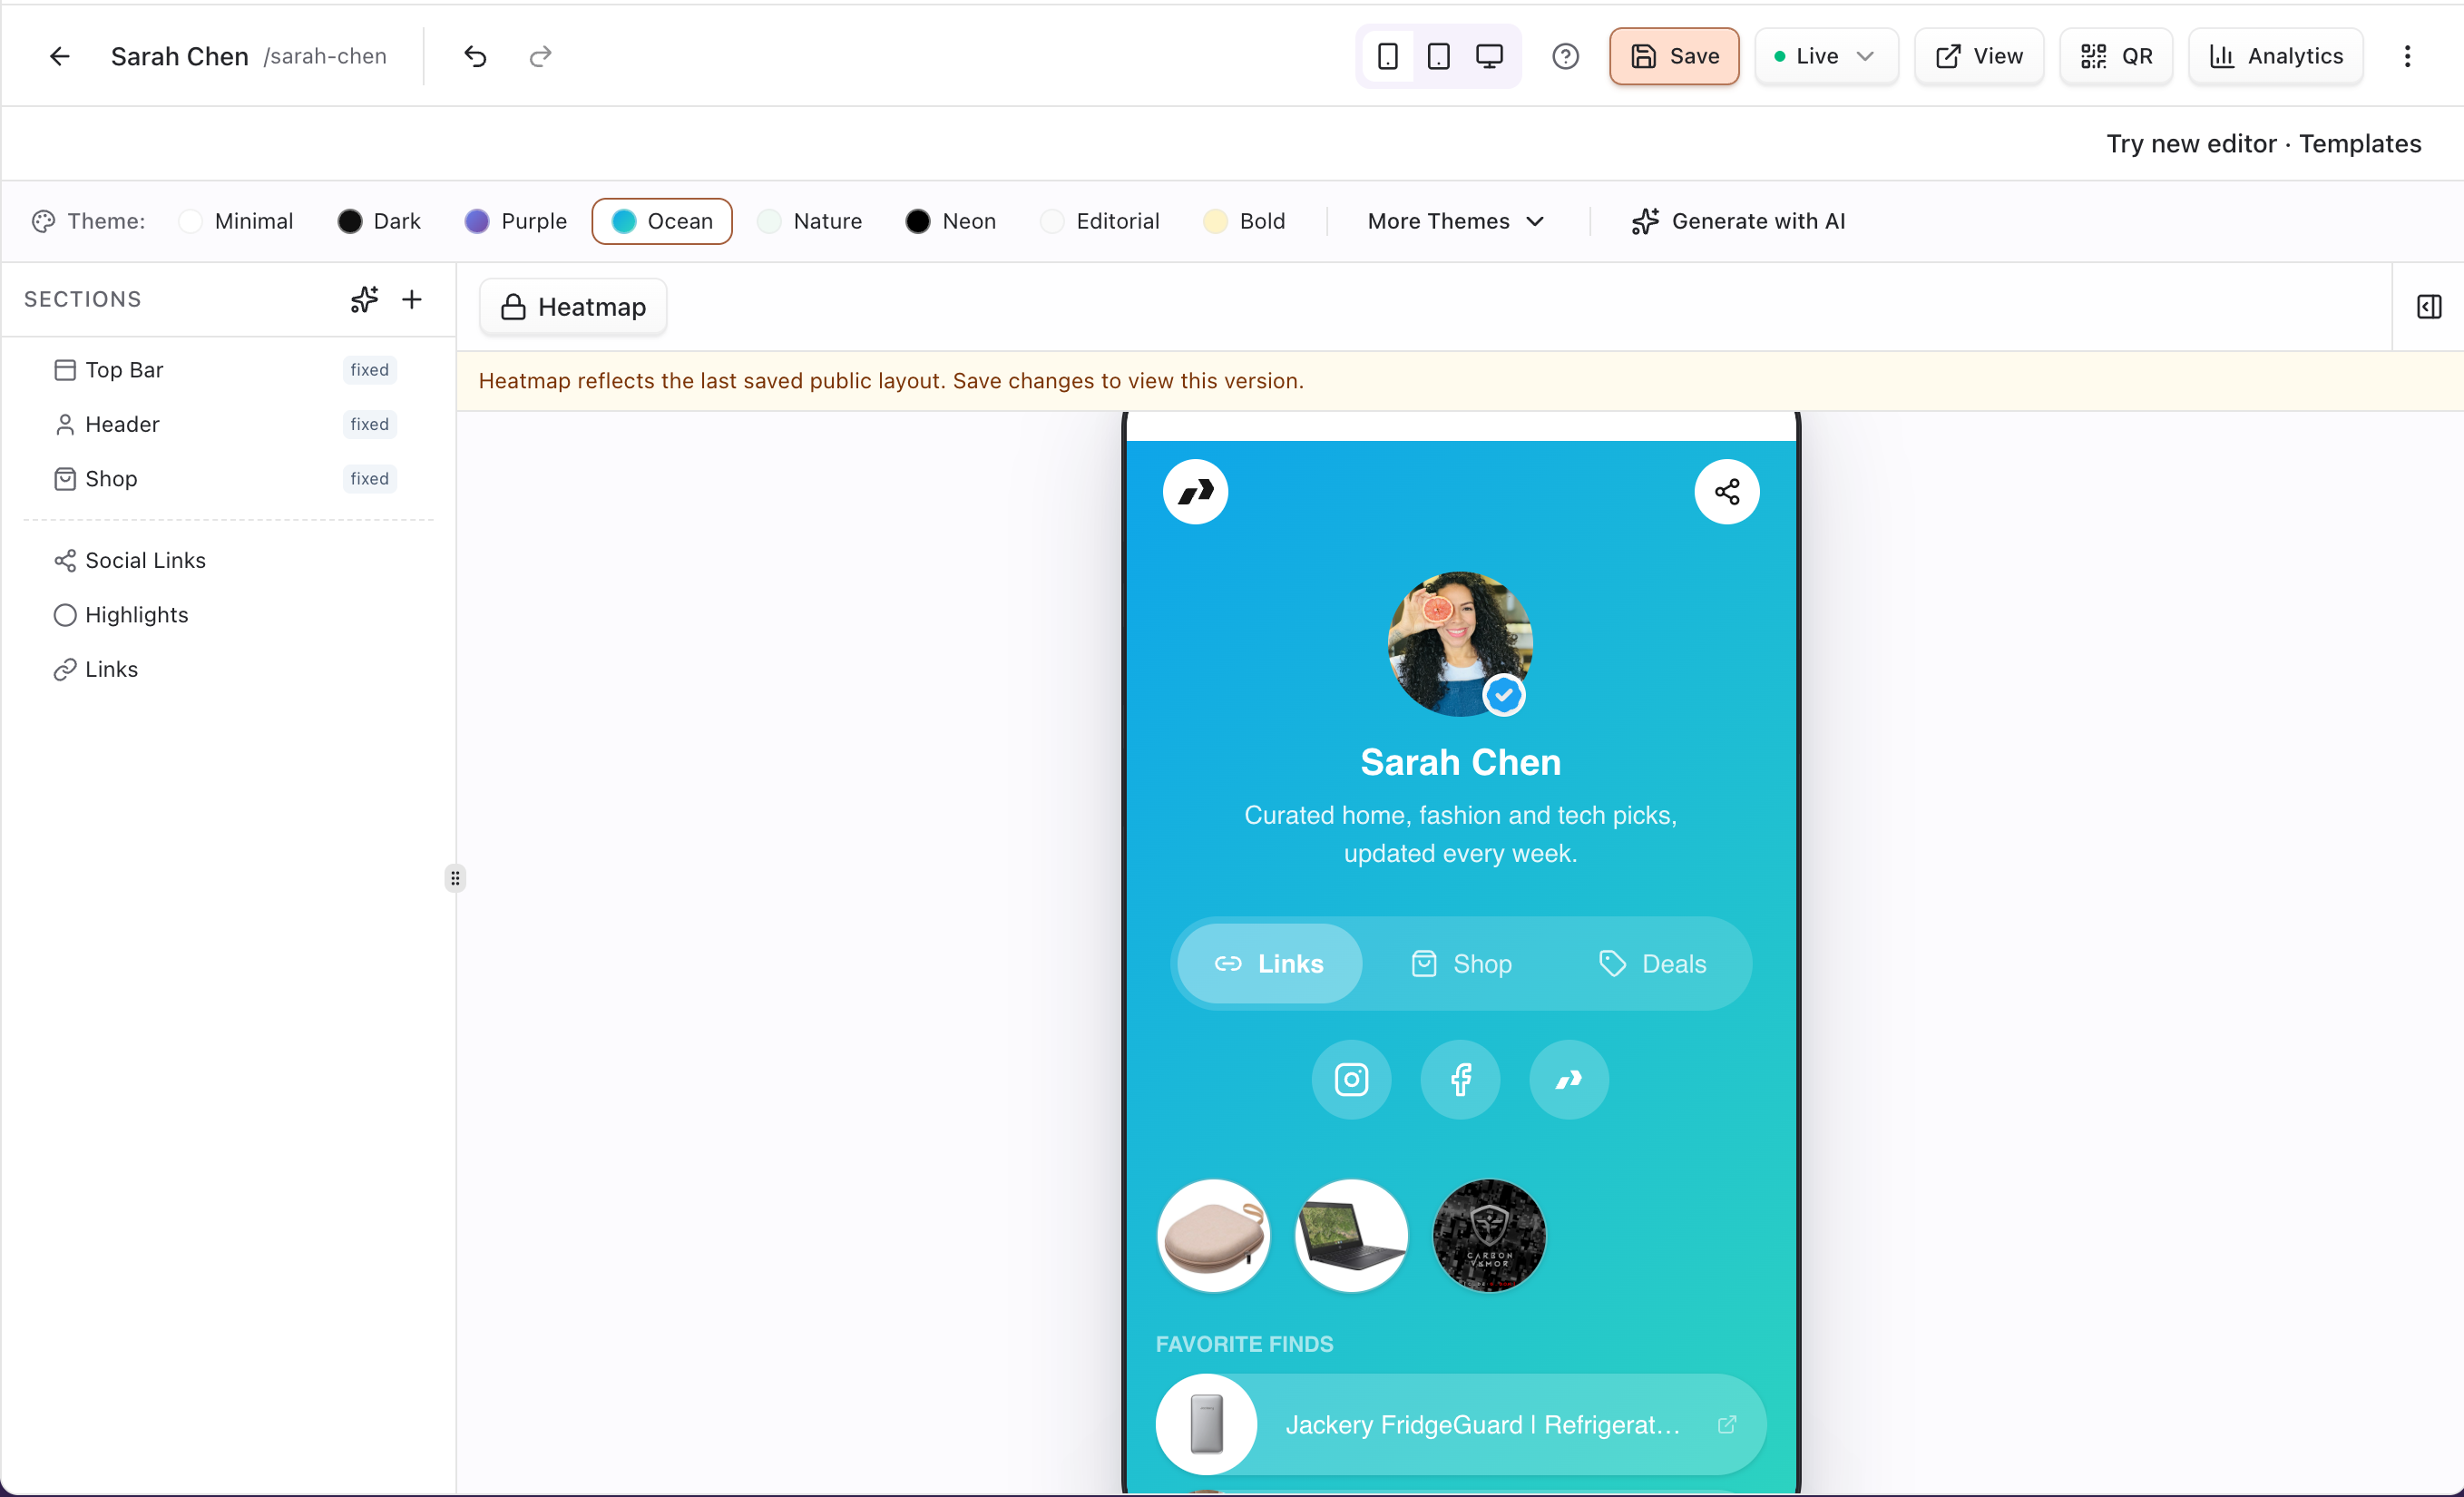
- Edit the header section: name, short intro, avatar, and optional cover.
- Add social or channels sections if you want icons for Instagram, TikTok, YouTube, WhatsApp, Telegram, and similar.
You can later change title, slug, and bio under Page Settings (same slug rules, plus: must start and end with a letter or number; empty slug is rejected).
Page Settings also has Invite & earn from my bio (on by default, shown when you have access to Rewards). While a referral program is running, the Join <name> on Pointerly card visitors see and a small Made with Pointerly badge at the bottom of the page link to your personal invite, so visitors who join from your bio count as your referrals. Turn it off to hide the badge and send the card to the plain sign-up page. Your plan and branding settings don't change this: only the switch does. See Invite creators and earn.
Keep the first viewport focused on who you are and one clear primary action.
3. Add links and other sections
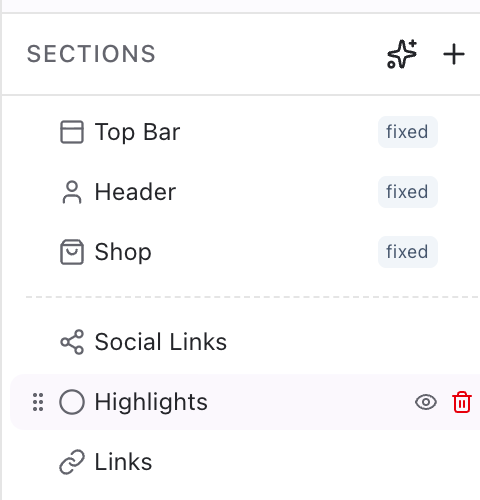
- Add a Links or Highlights section.
- Attach existing Pointerly links (or create links first in Links, then add them here).
- Optionally add text, heading, button, embed, divider, or spacer blocks for structure.
- Drag content sections to reorder. Toggle visibility (eye icon) to hide a block without deleting it.
Fixed system sections topbar, header, and shop stay in place structurally (marked fixed); you can hide them but cannot delete them. Shop may show a PRO lock until Bio Shop is on your plan.
4. Theme and device preview
- Use the Theme bar to pick a preset: Minimal, Dark, Purple, Ocean, Nature, Neon, Editorial, or Bold.
- Or open More Themes for saved themes (items marked PRO need an upgraded plan / advanced analytics access).
- If available, use Generate with AI, describe the look, preview, then Apply or Discard.
- Switch the preview between mobile and desktop.
- Click Save when the preview looks right—preset and theme picks update the editor first and persist on save (they do not auto-save).
5. Publish and share
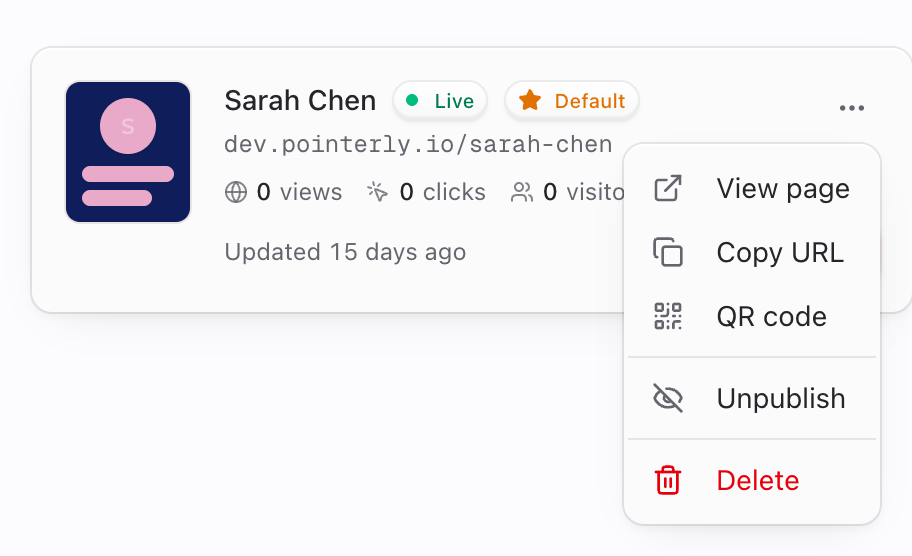
- Confirm the page status is Published. New pages usually already are. Use Publish if it is a draft; use Unpublish to take it offline without deleting content.
- Copy the public URL and open it in a private / phone browser to verify.
- Optional: Set as default (in the page card's ⋯ menu on Dashboard → Bio, shown for pages that are not already the default) so this page is the primary bio destination for your team (clears any previous default). The default page carries a Default badge.
- Optional: connect a verified bio domain under Settings → Domains.
Tips
- Create the monetization link before stuffing the bio—attribution lives on the link, not the section chrome.
- Prefer one default page for evergreen social bios; use extra pages for campaigns or seasonal drops.
- Unpublishing keeps the editor content; the public address stops resolving until you publish again.
- Plan limits may block extra pages—remove unused pages or upgrade if create returns a limit error.
- Changing the slug in Page Settings updates the public path; update social bios and QR destinations that still point at the old URL.
Related
Common questions
What’s the difference between Publish and draft / Unpublish?
Published (isPublished: true) means the public /@slug URL resolves. Unpublish sets published to false and keeps all editor content. New pages default to published. There is no separate “draft page” object—unpublished is the offline state.
Do I need to publish after every edit?
You need to Save section and theme changes so they persist. The page must already be Published for the public URL to show those saved changes. Unpublishing hides the whole page; it does not discard edits.
How do I set a page as the default bio?
Open the page (or use the bio list action) and choose Set as default. That requires can edit bio pages. The team can have only one default; the previous default is cleared automatically.
What slug rules apply?
- Allowed characters: lowercase
a–z, digits0–9, and hyphens - Must not be empty
- In Page Settings, must start and end with a letter or number
- Must be unique across active pages; soft-deleted pages may block a slug until reclaim succeeds
Why did create say I reached my bio page limit?
Your plan’s bio page cap was hit. Upgrade (message references Pro for unlimited), or delete pages you no longer need. Permission errors are separate: missing create permission returns You do not have permission to create bio pages.
What is the “Made with Pointerly” badge at the bottom of my page?
It's your invite link: visitors who sign up through it count as your referrals. It follows your page's text colour, so it fits any theme or template. Hide it with ⋮ → Settings → Invite & earn from my bio. While it shows, it replaces the plain Powered by Pointerly line.
Can I change the slug later?
Yes—Page Settings lets you edit title, slug, and bio. Changing the slug changes the public URL; old /@old-slug links stop working unless something else redirects them.